
Colors you will need:
- vallejo – Black (70.950)
- Citadel (Layer) – Evil Sunz Scarlet
- Citadel (Layer) – Fire Dragon Bright
- Citadel (Layer) – Flash Gitz Yellow
- Citadel (Technical) – Mordant Earth
- Citadel (Layer) – Eshin Grey
- Citadel (Layer) – Dawnstone

Step #1 – The base coat
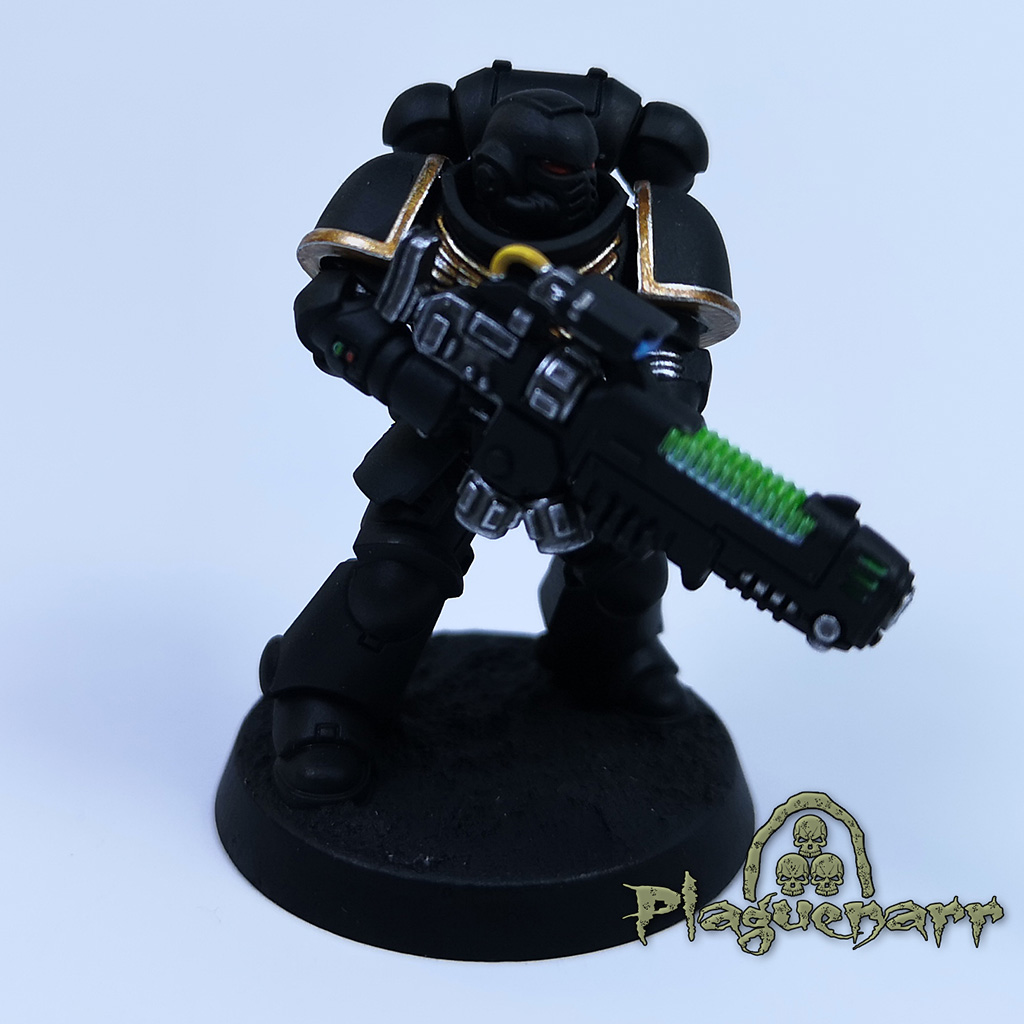
Start with 2-3 layers of a slight Base Coat of “vallejo – Black (70.950)”. Try to paint these layers as thin as you can. Its important that you dont loose any details. If you have a airbrush, paint the black Base Coat with the airbrush.
Make sure that the whole model is covered after the black layers with a deep true black color environment.
Step #2 – Red layer
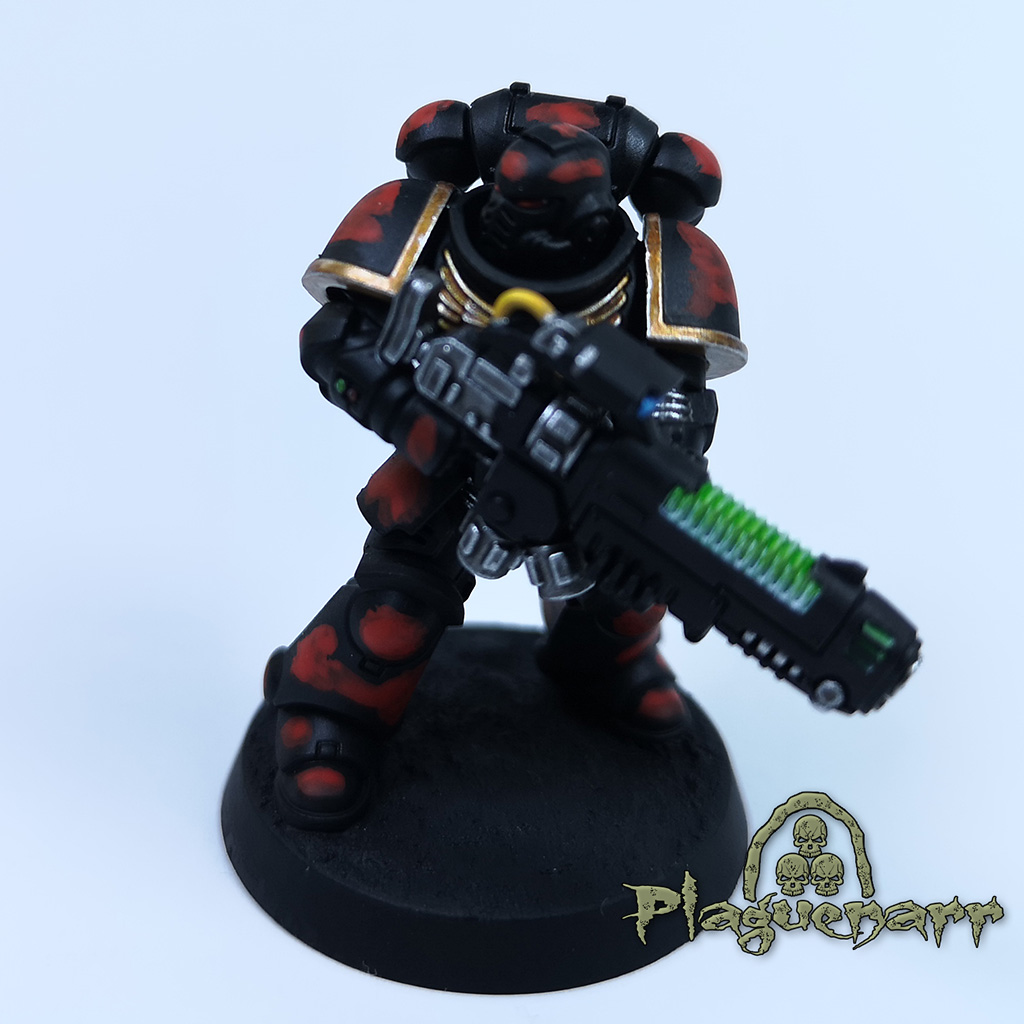
For the red layer take a brush in size 3+ and dip it half with the belly right into the color “Citadel (Layer) – Evil Sunz Scarlet”.
Dont thin the color with water. This is important becasue we want the color still moist, if we bring on the next layer to get a smooth transition between the colors. This technique is also called wet blending
For the later transition between the “Citadel (Technical) – Mordant Earth” and the armor color” vallejo – Black (70.950)” its important that you always have a small edge of black arround the parts painted red.
Step #3 – Orange layer
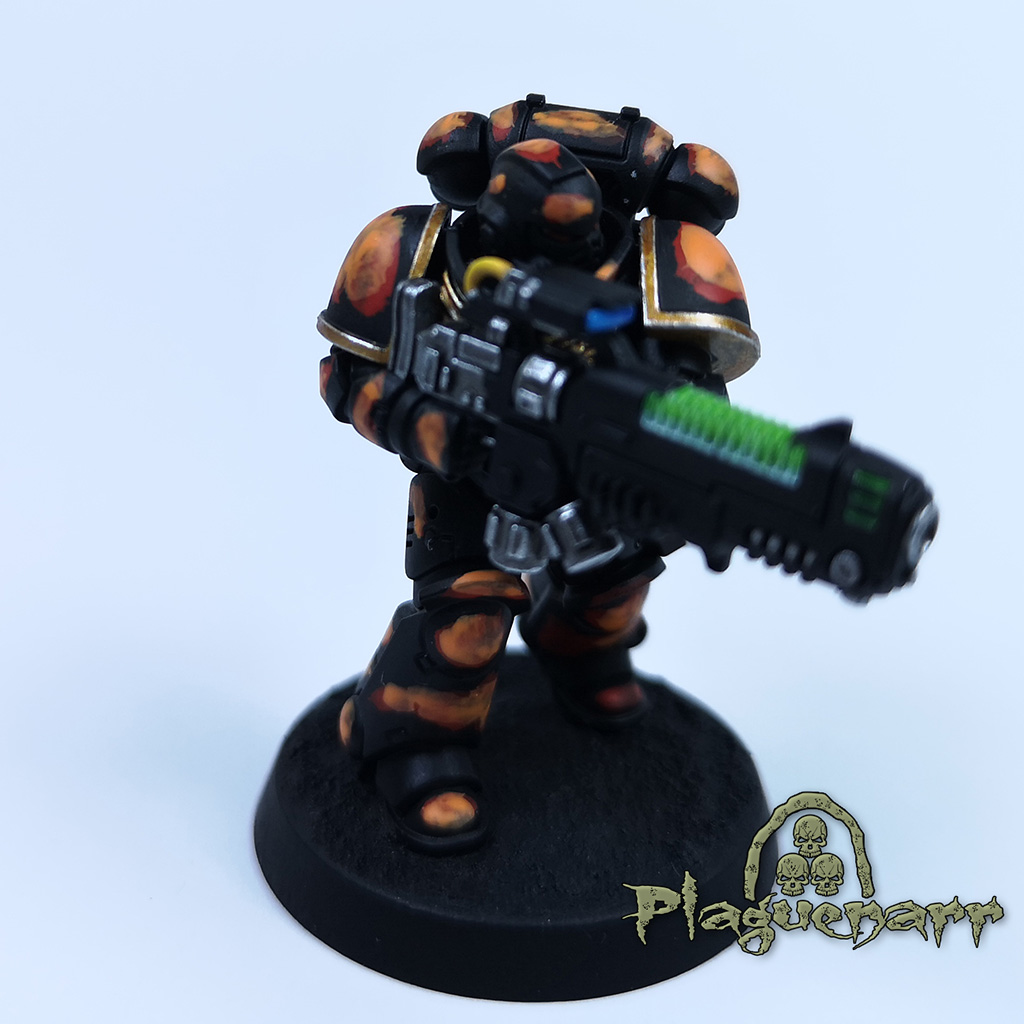
The ornage layer is basicly the same procedure as the red layer. The onyl differnce is that the are you paint with “Citadel (Layer) – Fire Dragon Bright” is inside the red area you painted in the second step.
Make also sure that you get some streaks between the red and the orange layer by wet blending these colors.
This gives the armor in the final result a more realistic ember effect.
Try to have a moist color when you get over to the next step.
Step #4 – Yellow layer
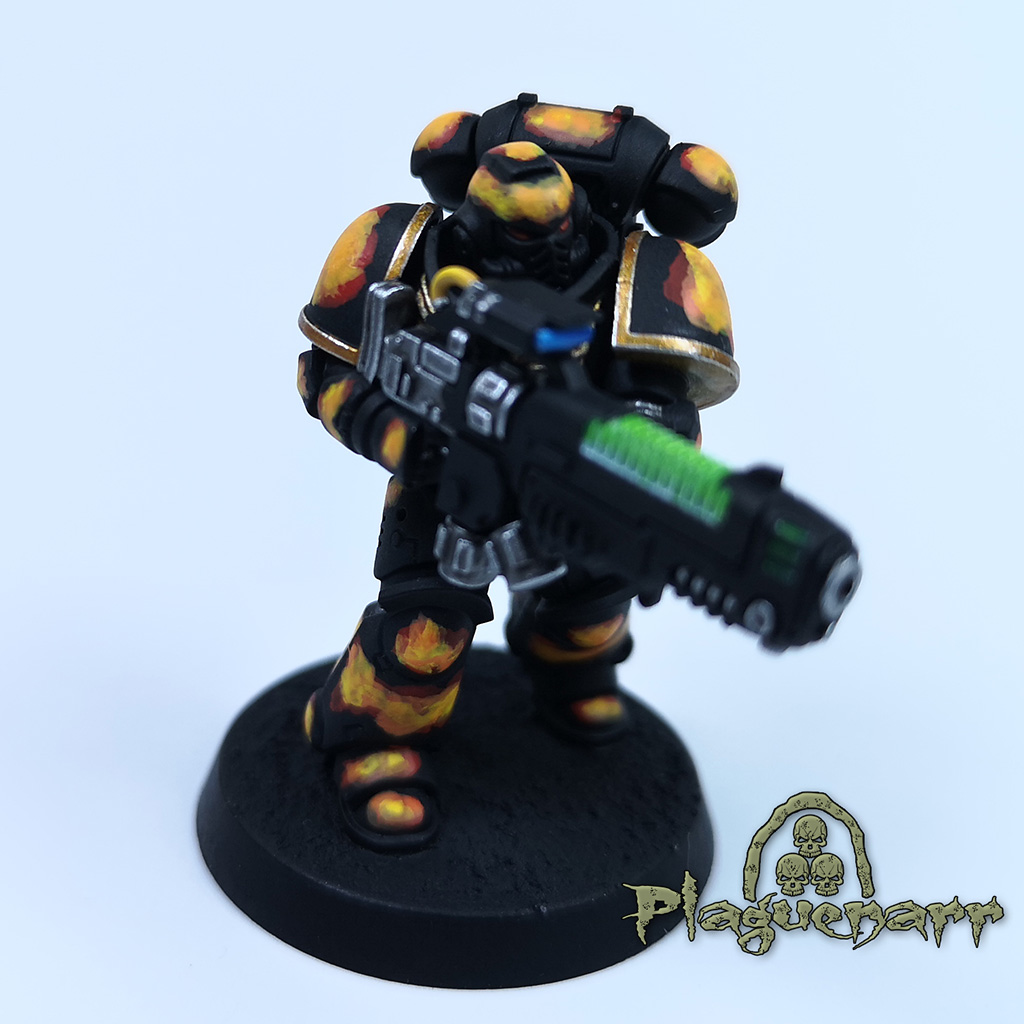
The “Citadel (Layer) – Flash Gitz Yellow” layer is the last color layer. Try to thin the color a littebit down and get it mixed with the moist parts of the layer from the previos step. Its also important for the end result of the effect that you have some more potent yellow spots.
If youre done wait until the whole layers are dry before you get to the next step.
Step #5 – Mordant Earth layer

Now its time to bring up the armor effect ba applying the “Citadel (Technical) – Mordant Earth” over the parts we painted red/orange/yellow.
For this step use a old brush. The technical color will mostly ruin your brush if youre not fast enough by cleaning it up.
Try to have an unconsitent structure by applying thick laysers to some parts and thin layers to some other parts.
Its important to know that thick layers will result in large cracks and thin layers will result smaller cracks. If your layer is to thin this will result in no cracks at all.
After you covered all areas with Citadel (Technical) – Mordant Earth wait 2-3 hours for the final result. Or speedup the process with a blow dryer.
Step #6 – Finish your model for a awesome result
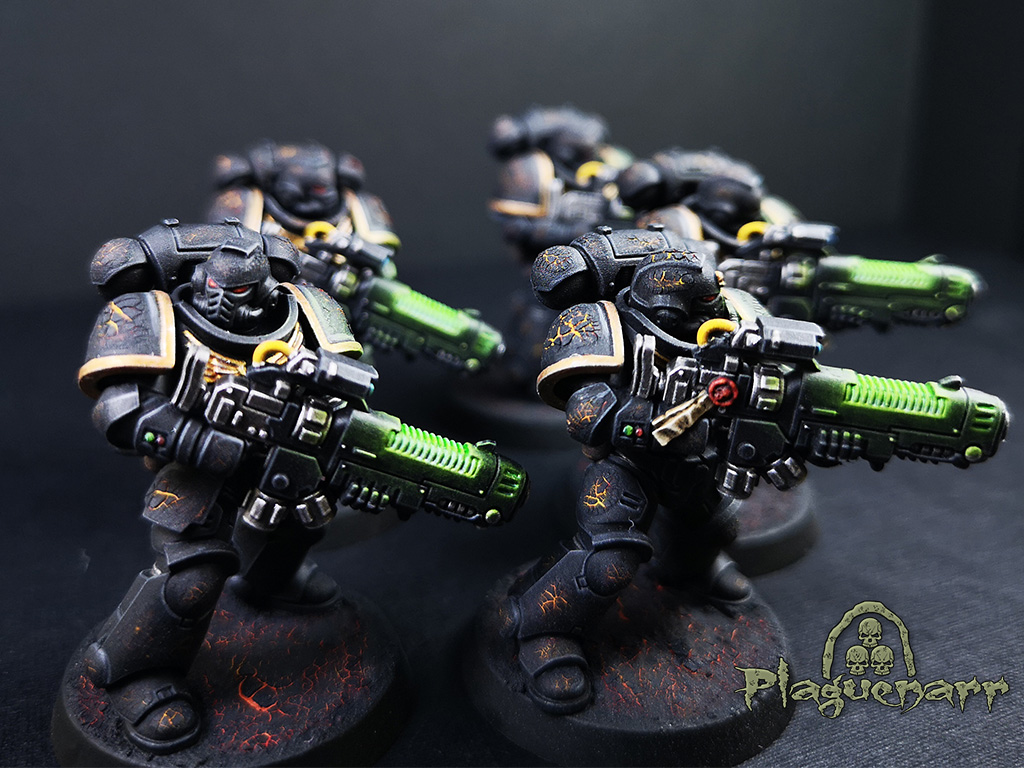
To achiev a real awesome look and feel with the armor effect it is still important to finish your model in the regular way. Like edge highlighting and painting a small amount of details.
As you can see in the picture above. I finished the models by edge highlighting with “Citadel (Layer) – Eshin Grey ” and “Citadel (Layer) – Dawnstone”.
The bases got finished in the same way as the cracks of the armor.
I also added a the nice green plasma osl effect to give the models a more intressting environment.